LIFESTYLE

Intestine Well being and Estrogen Stability
A wholesome and numerous intestine microbiome helps help the steadiness of our hormones, a strong immune system and impacts how effectively we soak up the …
Read more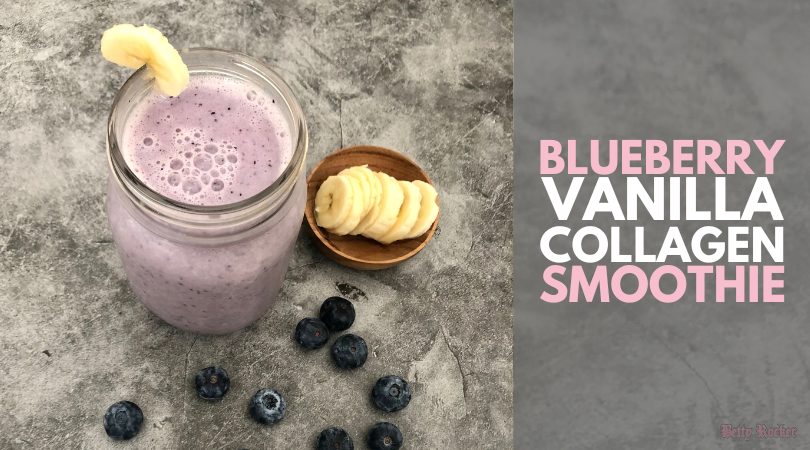
Blueberry Vanilla Collagen Smoothie
This frosty Blueberry Vanilla Smoothie is one in all my faves, particularly when it’s heat outdoors! I like the scrumptious taste combo and that it …
Read more
8 Strolling Advantages for Girls to Get You Transferring
I made strolling extra an enormous precedence over the previous couple of years and it’s helped me in so some ways! I wished to share …
Read moreEntertainment
Community
Intestine Well being and Estrogen Stability
A wholesome and numerous intestine microbiome helps help the steadiness of our hormones, a strong immune system and impacts how effectively we soak up the …