LIFESTYLE

5 Important Self Care Ideas for Higher Muscle and Joint Well being
Take into consideration how you’re sitting or standing proper now – and the posture you’re in. Is that this a posture you’re ceaselessly in? What …
Read more
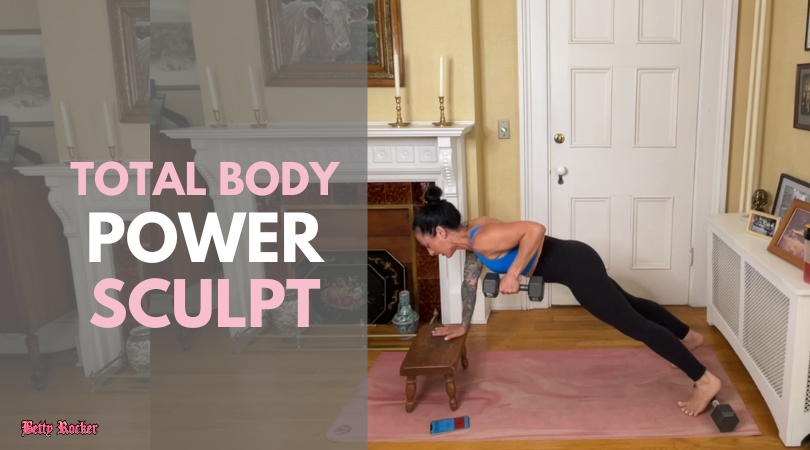
Low Affect Energy Exercise
Immediately I’ve a enjoyable energy constructing exercise with Coach Neesha from Crew Betty Rocker, that targets your whole physique with targeted, low-impact (and extremely efficient) …
Read more
Enchanting Honeymoon Locations – Rosanna Davison Diet
Your honeymoon is (hopefully!) a once-in-a-lifetime alternative to have fun love, embark on new adventures, and create unforgettable recollections along with your companion. From tropical …
Read moreEntertainment
Community
5 Important Self Care Ideas for Higher Muscle and Joint Well being
Take into consideration how you’re sitting or standing proper now – and the posture you’re in. Is that this a posture you’re ceaselessly in? What …